
By The Roofing Brief Team | Last reviewed: November 2026
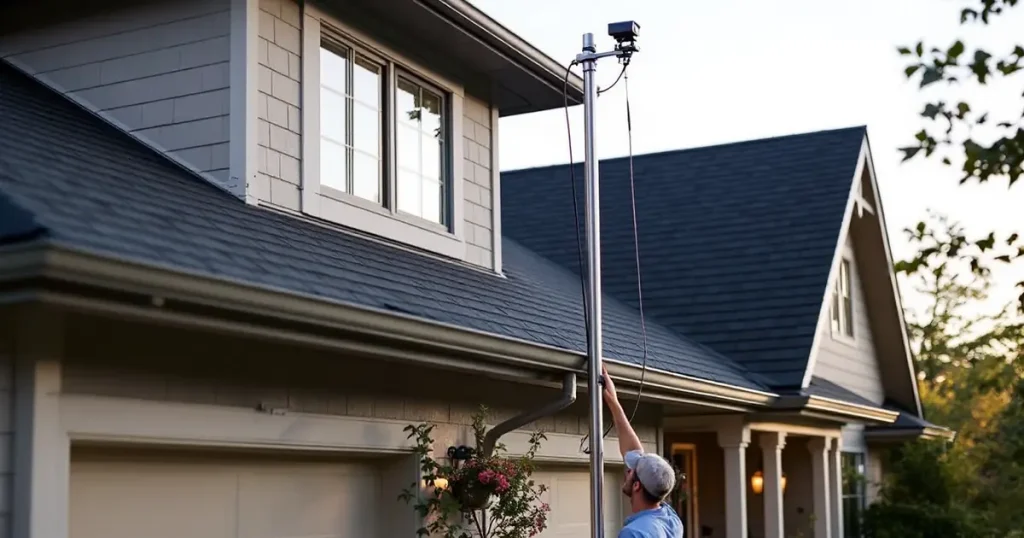
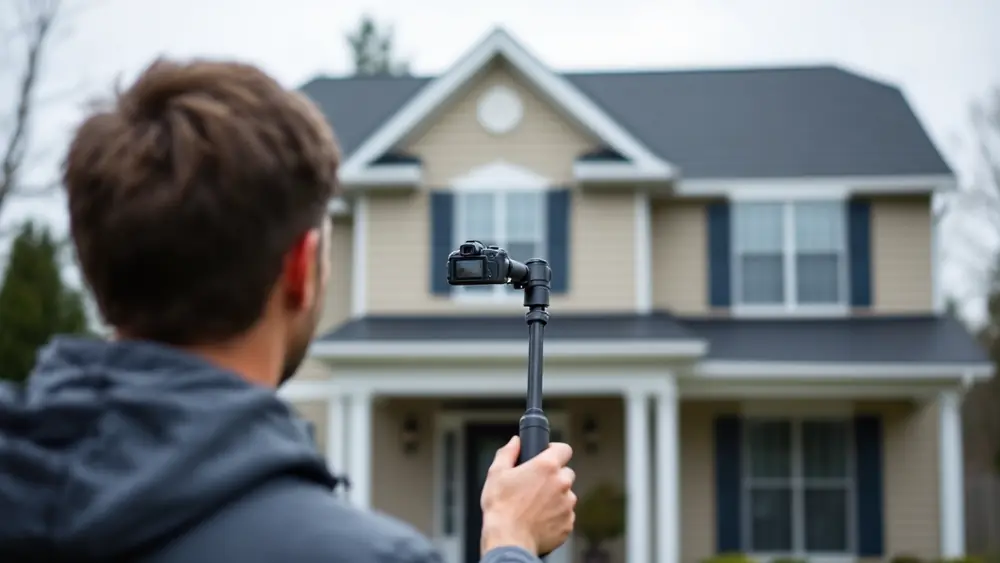
A camera pole for roof inspection is a telescoping carbon fiber or fiberglass mast, sold in lengths from about 23 to 44 ft, that lifts a Wi-Fi camera above the eave so shingles, flashing and gutters can be photographed from the ground. For a two-story house with a 20 ft eave, the Roofing Brief geometry below shows you need roughly 26 to 31 ft of pole to put the lens 8.5 to 13 ft above the eave, which is why the Eye-Stick and the Vividia WPC-900 are both sold at 30 ft.
Everything on this page is compiled from maker data sheets, retailer listings, the InterNACHI and ASHI standards of practice, OSHA and FAA rule text. The Roofing Brief did not test any of these poles or cameras; specs and prices are the makers’ and sellers’ published figures, with the date each listing was read.
How long a camera pole for roof inspection needs to be
Pole length depends on two inputs you can measure: eave height and how steeply the camera needs to look down at the upper part of the roof. A lens held just above the eave sees the far shingle courses at a grazing angle, where a lifted tab or a missing shingle can hide behind the course below it. A view angle of 30 degrees to the shingle surface is a workable minimum for spotting missing or creased tabs, and 45 degrees gives a near-overhead look at the ridge.
The table assumes a 15 ft horizontal run from eave to ridge (a 30 ft wide gable roof), the camera held 2 ft outside the eave line, the pole butt held 3 ft above the ground, and the pole leaned 10 degrees from vertical. Change the inputs and the arithmetic still works the same way.
| Roof pitch | Height above eave for a 30 degree view of the ridge | Height above eave for a 45 degree view of the ridge | Method |
|---|---|---|---|
| 4:12 (18.4 degrees) | 8.5 ft | 13.5 ft | Roofing Brief estimate: h = run x tan(pitch) + (run + 2 ft) x tan(view angle minus pitch) |
| 6:12 (26.6 degrees) | 8.5 ft | 13.2 ft | |
| 8:12 (33.7 degrees) | 8.9 ft | 13.4 ft | |
| 12:12 (45 degrees) | 10.4 ft | 15.0 ft |
Now convert height above the eave into pole length. Pole length = (eave height + height above eave minus 3 ft butt height) divided by cos(10 degrees), or 0.985.
| House | Assumed eave height | Lens target | Tip height | Pole length needed |
|---|---|---|---|---|
| One-story, 6:12 roof | 10 ft | 8.5 ft above eave (30 degree view) | 18.5 ft | 15.7 ft |
| One-story, 6:12 roof | 10 ft | 13.2 ft above eave (45 degree view) | 23.2 ft | 20.5 ft |
| Two-story, 6:12 roof | 20 ft | 8.5 ft above eave (30 degree view) | 28.5 ft | 25.9 ft |
| Two-story, 6:12 roof | 20 ft | 13.2 ft above eave (45 degree view) | 33.2 ft | 30.7 ft |
A 23.2 ft painter’s pole on that two-story house puts the tip about 25.8 ft up, only 5.8 ft above the eave. On a 6:12 roof that leaves the ridge at a 21 degree view angle, so the lower half of the slope photographs well and the top courses do not. That single number explains why the dedicated inspection poles in the table below run 24 to 44 ft.
Roof inspection camera poles compared
The poles below are the products named in the current search results and inspector forums for this query, plus one hardware-store base for a DIY build: eight listings from 23.2 to 44 ft. Most dedicated poles ship without a camera, so the price of a working setup is pole plus camera plus a phone or monitor.
| Product | Max reach | Collapsed | Pole weight | Camera | Listed price (date read) | Source |
|---|---|---|---|---|---|---|
| Smart Inspector Tools Eye-Stick 30ft Featherlight | 30 ft | 73 in | 7 lb | Not included; 1/4 in-20 head plus RAM phone holder | $599 (store listing archived Sept 2025) | Smart Inspector Tools |
| SkyVac SkyPole 24 ft | 24 ft | 5.3 ft | 3.6 lb (50% carbon fiber) | Not included; pairs with SkyCam or SurveyCam | $399 (SkyVac USA, Sept 2024) | SkyVac USA |
| SkyVac SkyPole 34 ft | 34 ft | 6.4 ft | 5.5 lb (100% carbon fiber) | Not included | $749 (SkyVac USA, Sept 2024) | SkyVac USA |
| SkyVac SkyPole 44 ft | 44 ft | 7.1 ft | 6.9 lb (100% carbon fiber) | Not included | $949 (SkyVac USA, Sept 2024) | SkyVac USA |
| SkyVac SurveyCam (camera plus 5 in monitor) | Up to 44 ft on SkyPole | n/a | Camera 2 oz; monitor 9 oz | 1280 x 720, 45 degree view, IP64, 328 ft range, records MP4 to microSD | $799 alone; $1,699 with 34 ft pole; $1,999 with 44 ft (SkyVac USA, Apr 2025) | SkyVac USA |
| Vividia WPC-900 (SKU P-V-WPC900-100) | 30 ft (9 m), 7 sections | 5.2 ft | 7 lb | Included: 1080p Wi-Fi head, 70 degree lens, 2.5 hr battery, 50 ft Wi-Fi range | From $2,490 (Oasis Scientific, Sept 2026) | Oasis Scientific |
| Photomast MK2 10 m | 33 ft (10 m) | Not published | Not published | Not included; tilt head with 3/8 in thread plus RAM holder | No price published | Photomast |
| Mr. LongArm Pro-Lok 2324 (DIY base) | 23.2 ft | 8.4 ft | 3.80 lb | Not included; painter’s threaded tip needs a camera adapter | $77.02 (mrlongarm.com, Nov 2026) | Mr. LongArm |
Several of these stores rate-limit or change prices often, so treat each figure as the price on the date shown and confirm it at checkout. The SkyVac, Smart Inspector Tools and Oasis Scientific prices come from the latest archived copies of those store pages (dates shown); the Mr. LongArm price was read live in November 2026.
What the spec sheets tell you
- Reach per pound. The SkyPole 44 ft carries 6.4 ft of reach per pound (44 / 6.9), the Eye-Stick 4.3 ft per pound (30 / 7) and the Vividia WPC-900 also 4.3 (30 / 7). Weight matters because you hold the whole pole at arm’s length for every photo.
- Collapsed length. The Pro-Lok 2324 is 8.4 ft closed and the Eye-Stick 73 in, against 5.2 ft for the 7-section Vividia. Mr. LongArm notes the 2324 ships with an oversize surcharge because it is over 8 ft.
- Camera field of view. The SurveyCam’s lens covers 45 degrees and the Vividia head’s 70 degrees, so they cover very different widths of roof per frame. The image section below works that out.
- Thread. Eye-Stick uses a standard 1/4 in-20 camera thread and Photomast a 3/8 in thread, so any camera with a tripod socket fits directly or with a common reducer.
What a pole camera can and cannot see on a roof
A pole camera records appearance from one side of the roof. It cannot press on a shingle, feel a soft deck or see the back slope of a gable from the front yard. InspectorPro Insurance, which insures home inspectors, says in its pole cam guidance that touch detects problems such as weak sheathing and that inspectors should state in writing what the pole could and could not see.
| Condition | Visible from a pole camera? | Why |
|---|---|---|
| Missing shingles, torn or creased tabs | Usually yes, on the slope facing the pole | Shape and shadow change is visible at a 30 degree or steeper view angle |
| Chimney, wall and pipe flashing | Front face yes; back side only if you move the pole | The camera sees one face of each penetration per setup |
| Gutter interior and debris | Yes | SkyVac lists gutter and roof inspection among SkyPole uses |
| Widespread granule loss | Often, as dark or shiny patches | Large areas of exposed mat change color; isolated loss may not show at 0.12 in per pixel |
| Hail bruising on asphalt | No, not reliably | A bruise is a fractured mat under intact granules, confirmed by pressing it |
| Soft or delaminated decking | No | Only foot pressure or the attic side reveals it |
| Back slopes and valleys behind the ridge | No, from that side | Move the pole to that elevation or fly a drone |
If a pole photo shows hail-sized marks of 1/2 in or larger, the next step is a hands-on check of a test area. The method is covered in how to tell old hail damage from new. For shingles shedding granules, see the granule loss repair guide.
What InterNACHI and ASHI say about inspecting from the ground
Neither the InterNACHI Standards of Practice nor the ASHI Standard of Practice requires walking a roof, and both expect the report to say how the roof was looked at. That is the rule that makes a camera pole a legitimate inspection method rather than a shortcut.
- InterNACHI Standards of Practice, section 3.1 Roof. “The inspector shall inspect from ground level or the eaves: A. the roof-covering materials; B. the gutters; C. the downspouts; D. the vents, flashing, skylights, chimney, and other roof penetrations.” Under 3.1.IV, the inspector is not required to “walk on any roof surface.” Source: InterNACHI SOP.
- ASHI Standard of Practice, section 5.1.B. The inspector shall describe “roofing materials” and the “methods used to inspect the roofing.” Source: ASHI Standard of Practice.
- ASHI revision approved January 8, 2026 (effective date to be announced). Section 6.3 reads “The Inspector is NOT required to walk on roofs,” and section 16.2.A lists equipment the inspector is not required to use, including “ladders capable of reaching surfaces over one story above ground surface” and “small unmanned aircraft systems (drones).” Source: the approved 2026 ASHI text posted by the Mississippi Home Inspector Division.
In plain terms, a buyer’s inspector who photographs a two-story roof from a 30 ft pole is within both standards, as long as the report names the pole as the method. If you want a walk-on inspection, ask for it before booking. Time and price differences by method are in how long a roof inspection takes and the roof inspection cost guide.
Pole, drone or ladder: decision table
The legal line that matters most: a pole is not an aircraft, so no FAA certificate applies. A drone flown for a paid inspection does. Under 14 CFR 107.12, no person may manipulate the controls of a small unmanned aircraft unless that person “has a remote pilot certificate with a small UAS rating” or is directly supervised by someone who does. A homeowner photographing their own roof for fun flies under the recreational rule, 49 USC 44809, which requires that the aircraft be “flown strictly for recreational purposes” and that the operator pass an aeronautical knowledge and safety test.
| If this is your situation | Use this | Rule or number behind it |
|---|---|---|
| Any part of the pole could come within 10 ft of an overhead power or service line | Do not raise the pole; use binoculars, a drone or a utility-cleared crew | OSHA 1910.333(c)(3)(i): 10 ft minimum for lines 50 kV or less |
| Paid inspection, no Part 107 certificate on staff | Pole camera | 14 CFR 107.12 applies to drones, not poles |
| Eave 20 ft or less, front and side slopes are the concern | Pole camera of 24 to 30 ft | Geometry table above: 26 to 31 ft for a two-story eave |
| Roof over 2 stories, cut-up roof with back slopes and dormers | Drone with a certificated pilot | Part 107 altitude limit is 400 ft above ground (14 CFR 107.51(b)), far above any house |
| Wind above roughly 20 to 25 mph | Pole kept short, or reschedule | Drone limits per our drone inspection guide; long poles also sway in gusts |
| Hail claim, need to confirm bruises or soft deck | Walk-on or ladder inspection by a roofer or adjuster | Bruises and soft decking are found by touch |
| Tile, slate or 12:12 pitch | Pole or drone; avoid walking | 2026 ASHI text, section 6.3: inspectors are not required to walk roofs |
Drone platforms, wind ratings, the $5 FAA registration and pricing are compared in the best drone for roof inspection guide. How a drone survey runs and what it misses is covered in the drone roof inspection explainer.
Power lines: why “non-conductive” is not enough
The OSHA rule for unqualified workers near overhead lines, 29 CFR 1910.333(c)(3)(i), keeps the person “and the longest conductive object he or she may contact” at least 10 ft from lines of 50 kV or less, plus 4 in for every 10 kV above 50 kV. The same section adds that “objects which do not have an insulating rating for the voltage involved are considered to be conductive.” Carbon fiber conducts electricity. Fiberglass painter’s poles are not voltage-rated either: Mr. LongArm describes its all-fiberglass Non-Conductive pole as one that “won’t conduct electricity (120/240 voltage) if not contaminated with moisture,” which is a household-circuit claim, not a rating for distribution lines. Walk the full arc of the pole before extending it.
How to build a DIY roof inspection camera pole
A painter’s pole plus a small Wi-Fi camera is the setup inspectors describe on the InterNACHI forum, and the Pro-Lok 2324 at $77.02 is the longest pole Mr. LongArm sells. The steps below use its published specs. Expect a 23.2 ft pole to reach the lower half of a two-story roof well and the upper courses only at a shallow angle, per the geometry table.
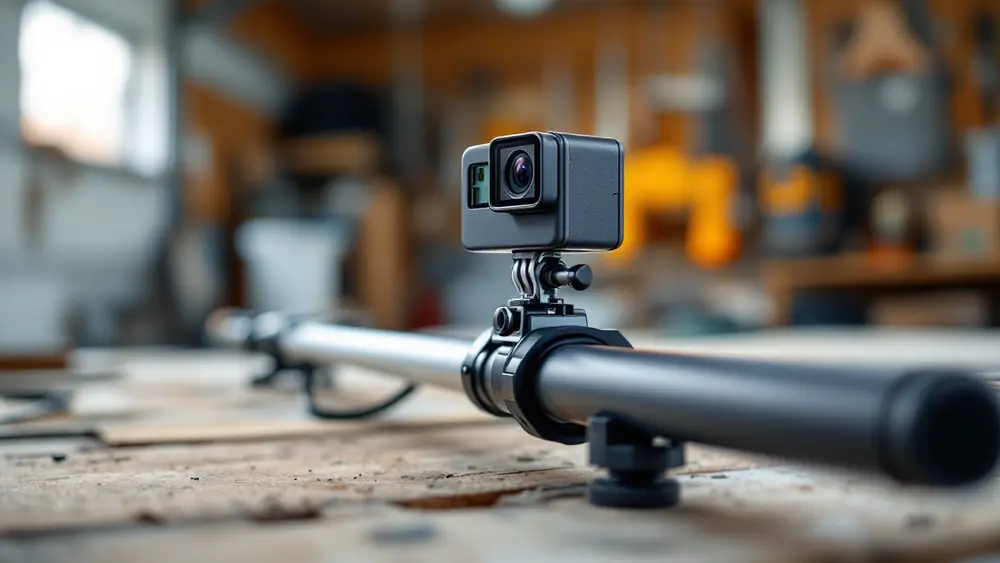
- Pick the pole. Mr. LongArm Pro-Lok 2324: 8.4 to 23.2 ft, 3.80 lb, 8 ft fluted fiberglass handle, aluminum slider tubes, metal threaded tip. For more height, the 24 ft SkyPole adds 0.8 ft of reach and weighs 3.6 lb, at five times the price.
- Add a thread adapter. The painter’s tip takes threaded tools, not cameras, so fit an adapter that ends in a 1/4 in-20 camera stud. Add a small tilt head so the lens can point 30 to 45 degrees down.
- Choose a light camera with live view. Weight at the tip is what tires your arms. The arithmetic: a 0.5 lb camera on a 23.2 ft pole leaned 10 degrees sits 4.0 ft off-center and puts 2.0 lb-ft of extra twisting load at your hands; leaned 30 degrees it sits 11.6 ft out and the load is 5.8 lb-ft. The SurveyCam head weighs 2 oz for this reason.
- Tether it. Run a 12 in lanyard from the camera to the pole so a loose thread does not drop the camera onto the roof or a person.
- Check overhead lines. Stand at each setup spot, look up the full length the pole will travel and keep 10 ft from any line (OSHA 1910.333).
- Extend and lock section by section. Lock each section before raising the next, and keep the pole within about 10 degrees of vertical, where the hand load stays near the 2 lb-ft figure above.
- Shoot in passes. Set interval mode to one frame every 2 seconds or record video, start at one rake edge and walk the eave line, then repeat at each elevation. Zoom into the files on a laptop afterward, which InspectorPro recommends over judging on a phone screen in the field.
Camera choice and image detail
The useful question is how much roof each pixel covers. Frame width = 2 x distance x tan(half the lens angle); inches per pixel = frame width in inches divided by horizontal pixels. A 1/2 in hail mark, for comparison, needs several pixels across to read as a mark rather than noise.
| Camera | Distance to shingles | Frame width | Inches per pixel | Pixels across a 1/2 in mark |
|---|---|---|---|---|
| SurveyCam: 1280 px, 45 degree lens | 10 ft | 8.3 ft | 0.078 | 6.4 |
| SurveyCam: 1280 px, 45 degree lens | 15 ft | 12.4 ft | 0.116 | 4.3 |
| SurveyCam: 1280 px, 45 degree lens | 20 ft | 16.6 ft | 0.155 | 3.2 |
| Vividia WPC head: 1920 px, 70 degree lens | 10 ft | 14.0 ft | 0.088 | 5.7 |
| Vividia WPC head: 1920 px, 70 degree lens | 15 ft | 21.0 ft | 0.131 | 3.8 |
| Vividia WPC head: 1920 px, 70 degree lens | 20 ft | 28.0 ft | 0.175 | 2.9 |
Roofing Brief arithmetic from the maker resolutions and lens angles. The two cameras resolve similar detail at the same distance: the Vividia’s extra pixels are spent on a wider frame, which means fewer photos per slope. Neither turns a 20 ft shot into proof of hail damage, because at about 3 pixels a 1/2 in mark is indistinguishable from a stain or a dropped twig. Moisture under the roof is a different tool again; see the thermal roof inspection guide.
Frequently asked questions
What is the best camera for roof inspection?
For a pole, the best camera is a light Wi-Fi camera with live view on a phone or monitor and a tripod thread. The SkyVac SurveyCam head weighs 2 oz and records 1280 x 720 MP4 to microSD, and Vividia’s pole head records 1080p with a 70 degree lens. For a drone, a 48MP camera is usually enough on steep-slope roofs, with thermal added for flat roofs.
Are pole cameras legal?
Yes. A camera on a pole is not an aircraft, so FAA Part 107 does not apply, and photographing a roof with the owner’s permission needs no permit. The legal debate over pole cameras concerns police surveillance: in United States v. Tuggle (7th Cir. 2021), the court held that 18 months of police pole camera video of a home was not a Fourth Amendment search.
What will fail a roof inspection?
A home inspection is not pass or fail; it reports defects. Under InterNACHI SOP 3.1, the inspector must report “observed indications of active roof leaks” as in need of correction. Missing or damaged shingles, failed flashing and clogged gutters are the other items typically called out. Insurers and lenders set their own roof-age and condition rules.
What do home inspectors look for on a roof?
Under InterNACHI SOP 3.1 they inspect the roof-covering materials, gutters, downspouts, and the vents, flashing, skylights, chimney and other roof penetrations, from ground level or the eaves. ASHI section 5.1 adds that the report must describe the roofing materials and the methods used to inspect them, such as a walk-on, drone or camera pole.